These step-by-step instructions will show you how to configure Netscape Messenger 6 for IMAP access.
Please note: Be sure to read the instructions carefully--much of the information given is for example purposes only. If you enter the example information, Netscape Messenger will not be configured correctly.
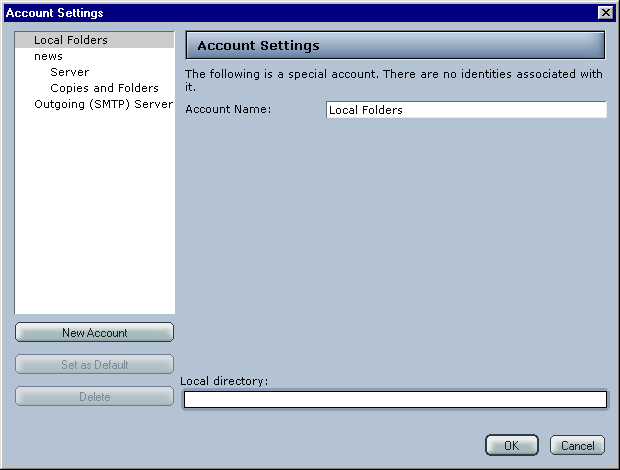
Choose Edit > Mail/News Account Settings from the main menu.
Click the New Account button.
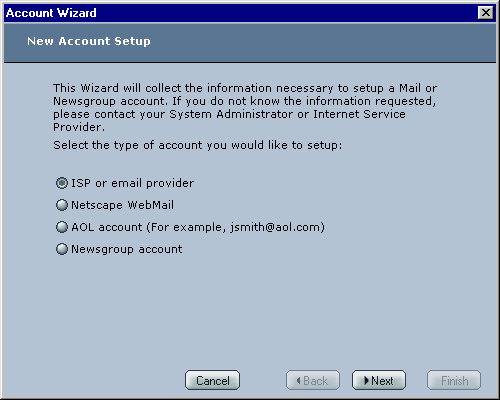
Select ISP or email provider.
Click the Next button.
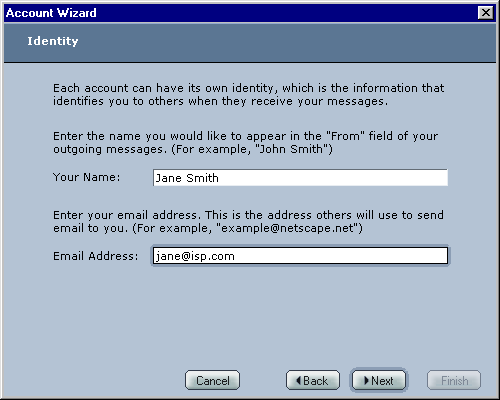
Enter the requested information:
Your Name: Enter your name (in the example, this is given as "Jane Smith")
Email Address: Enter your email address (in the example, this is given as "jane@isp.com"). This address is used as the reply-to address when you send messages using your client and will not affect which messages you can download from Mailshell. You can enter any of your Mailshell addresses or any outside address.
Click the Next button.
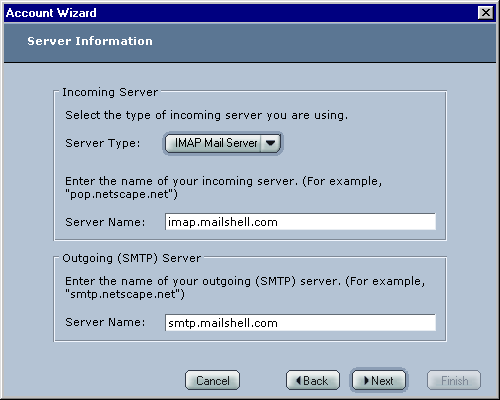
Enter the requested information:
Server Type: Select "IMAP Mail Server"
Incoming Server Name: Enter "imap.mailshell.com"
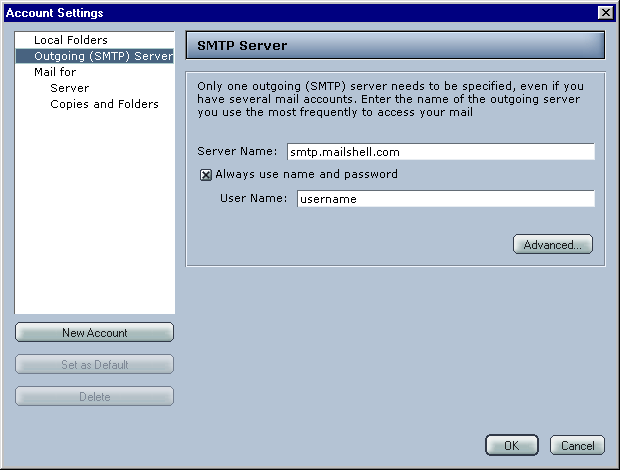
Outgoing Server Name: Enter "smtp.mailshell.com" (or, if you prefer, your existing ISP's SMTP server)
Click the Next button.
Enter the name you use to sign in with Mailshell (in the example, this is given as "username").
Click the Next button.
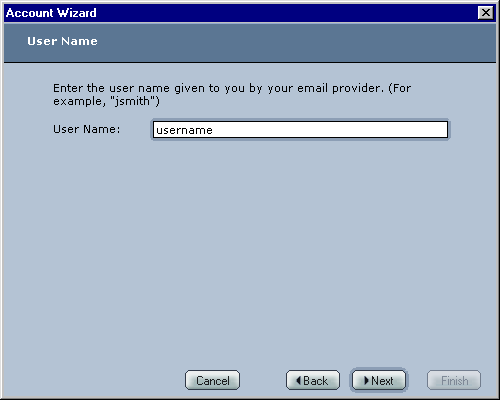
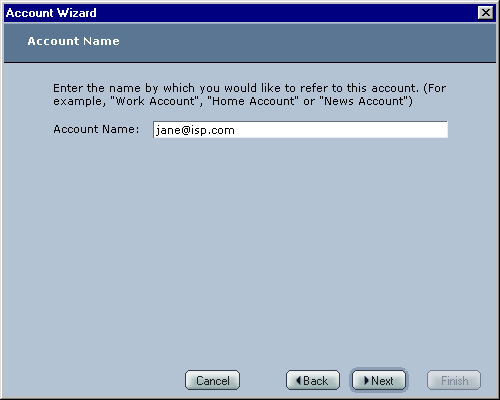
Enter whatever you would like to call this account (in the example, this is given as "jane@isp.com").
Click the Next button.
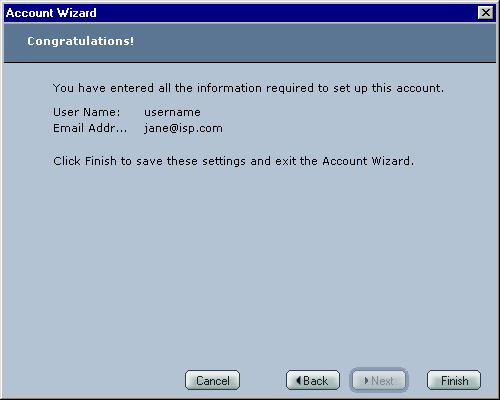
You will see the Congratulations window if you have successfully completed your setup.
Click the Finish button.
You should now see a window with your new account.
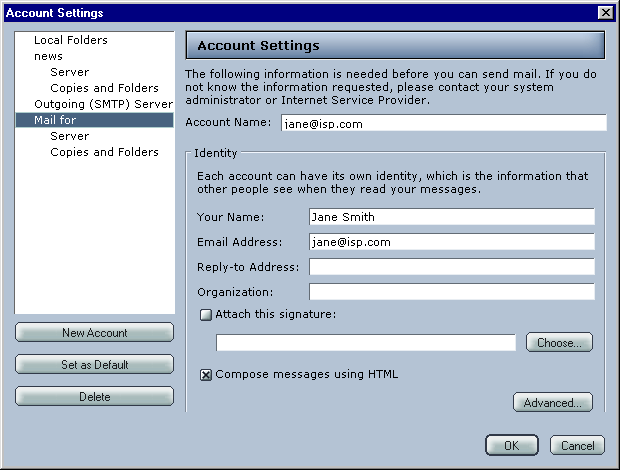
If you are using your ISP's SMTP server, you should now be able to start using your IMAP account. If you are using Mailshell's SMTP server, however, there is one more step: select Outgoing (SMTP) Server, check the Always use name and password box, and enter the name you use to sign in with Mailshell (in the example, this is given as "username").
Click the OK button.
You should now be able to start using your IMAP account!